The Art of Lighting in 3D Visualization: The Basics of Setting Up

Light is not just a technical tool in 3D visualization, it is a tool that creates mood, volume, and life in every scene. Properly set up lighting can turn even the simplest model into an impressive, photorealistic picture. In this article, we’ll look at why light plays a key role in 3D visualization, what the main types of lighting are, and how, even without professional knowledge, you can set up a lighting scheme to make your scene look convincing and atmospheric. Ready to create your own story with light? Then let’s get going!

005 15 25 The Art Of Lighting In 3D Visualization 1024x576

Lighting is one of the most important elements in 3D visualization. It is thanks to the right light that an image acquires depth, atmosphere, and realism. Even the most detailed model or the most perfect texture won’t come to life if the scene is not lit properly. In this article, we’ll look at the basic principles of working with lighting in 3D visualization, which will help you improve the quality of your renders even without deep technical knowledge.

Why is lighting so important?

Light visually structures space, creates mood, and focuses the viewer’s attention on the most important elements of a scene. In the real world, we interact with light all the time: it determines how we see objects, their shape, texture, and material feel. In 3D graphics, the same laws apply, but they need to be carefully recreated manually or with the help of special settings.

The right lighting can help you:

  • Emphasize the shape and volume of models;
  • Present materials (metal, glass, fabric) in a favorable way;
  • Create an atmosphere (for example, warm evening light or cold daylight);
  • Focus attention on key details;
  • Simulate real-life lighting conditions, which increases the believability of the scene.

Basic types of lighting in 3D

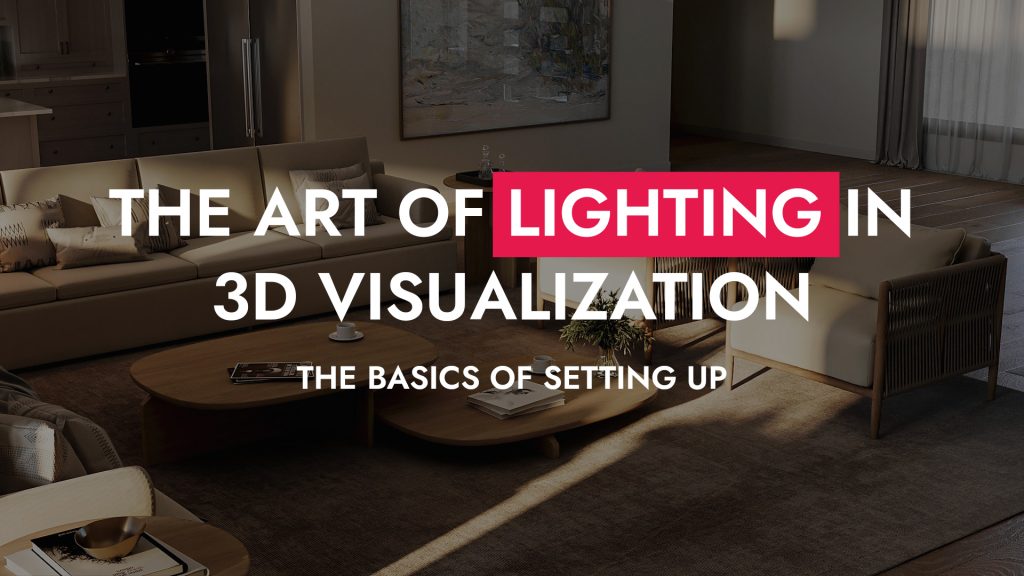
Before you start customizing the lighting in your scene, it’s worth understanding the main types of lighting sources used in 3D applications:

Directional Light

This type imitates sunlight. The light rays are parallel, and the source is located at an infinite distance. Directional light works well for daytime scenes where you want sharp shadows and bright general lighting.

Point Light

A source emits light in all directions from a single point, just like a light bulb. It’s used to light small objects or create accents.
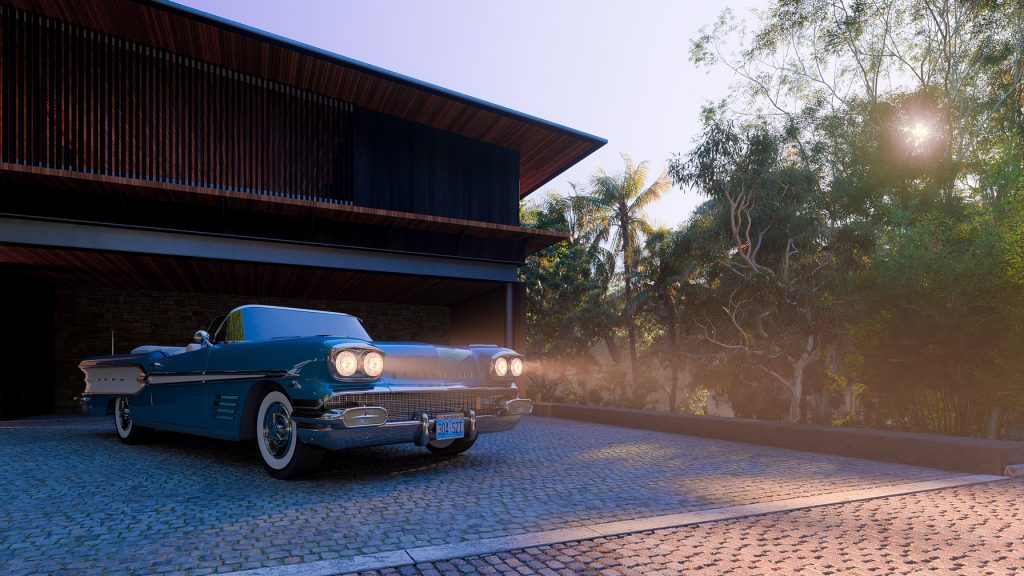
Spot Light

Creates a cone of light, similar to a theater spotlight or car headlight. It’s great for illuminating specific areas or creating dramatic effects.
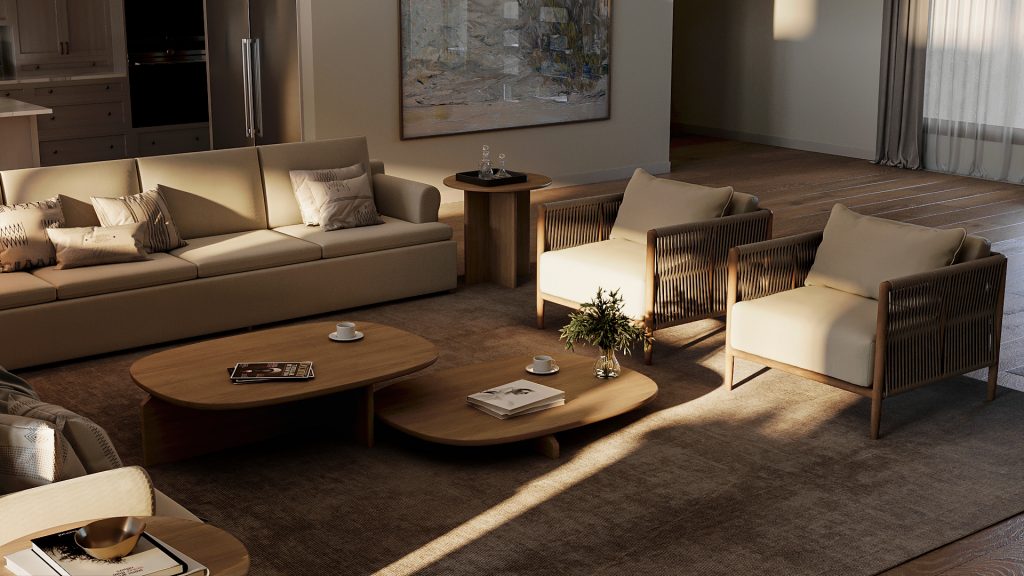
Area Light

The light source is shaped like a plane (for example, a rectangle or circle) and illuminates the scene softly and evenly. Often used in interior renderings and studio visualization.

Environment Light

Simulates the global lighting of a scene. It allows you to achieve natural reflections and soft lighting that reflects the environment.

Key principles of lighting setup

1. Three-point lighting scheme

One of the most basic ways to set up lighting for a scene. It’s used in movies and photography and works great in 3D:

  • Key Light – the main source that defines the overall appearance of the object;
  • Fill Light – softens shadows to make them less harsh;
  • Back Light or Rim Light – highlights the outline of the object, separating it from the background.

This scheme helps to create a balanced scene with good volume rendering.

2. Light color and temperature

The colors of light sources are very important. Warm lighting creates a cozy atmosphere and is suitable for evening scenes, while cool light is more like daytime natural light and is suitable for office spaces.

3. Shadow quality and softness

Sharp shadows make a scene stand out, while soft shadows add realism. For example, a cloudy day produces soft diffused light and fuzzy shadows, while a bright sun creates strong contrasts.

4. Using HDRI

HDRI (High Dynamic Range Image) allows you to use panoramic images to illuminate a scene. This provides natural reflections on surfaces and harmonious surroundings, which is especially important when creating photorealistic renders.

Common mistakes made by beginners

  • Too bright light or overexposure: makes the image look unrealistic and “flat”.
  • Lack of a backlight source: objects merge with the background.
  • Insufficiently designed shadows: wrong direction or lack of soft transitions spoil the overall impression.
  • Mismatch of light color and materials: for example, too cold light in a room with a warm design.

Even a basic understanding of the types of light sources and basic techniques can significantly improve the level of your 3D visualizations. Practicing and experimenting with settings will help you find your own style and create realistic scenes that capture attention. Don’t be afraid to try different approaches: even small changes in the location of light sources or their parameters can dramatically change the impression of your work.

Get in Touch

Drop us a line or give us a ring. We love to hear from you!


Price Guideline 1024x683
Your Package

×
Dein Paket

×
Il tuo Pacchetto

×
Votre Choix

×
اختيارك

×
Your Request


×
Your Request


×
Your Package

×
Your Package

×
Your Package

×
Your Package

×
Your Package

×
Dein Paket

×
Dein Paket

×
Dein Paket

×
Dein Paket

×
Dein Paket

×
Il tuo Pacchetto

×
Il tuo Pacchetto

×
Il tuo Pacchetto

×
Il tuo Pacchetto

×
Il tuo Pacchetto

×
Il tuo Pacchetto

×
Votre Choix

×
Votre Choix

×
Votre Choix

×
Votre Choix

×
Votre Choix

×
اختيارك

×
اختيارك

×
اختيارك

×
اختيارك

×