For designers and architects, 3D visualization has become not only a presentation tool, but also a bridge of trust between a professional and a customer. And for clients, it has become a confidence that the space they will live in will be exactly as they see it on the screen. So how does this path go – from an idea to the most realistic picture that can become an accurate plan for builders? Let’s look at it step by step.
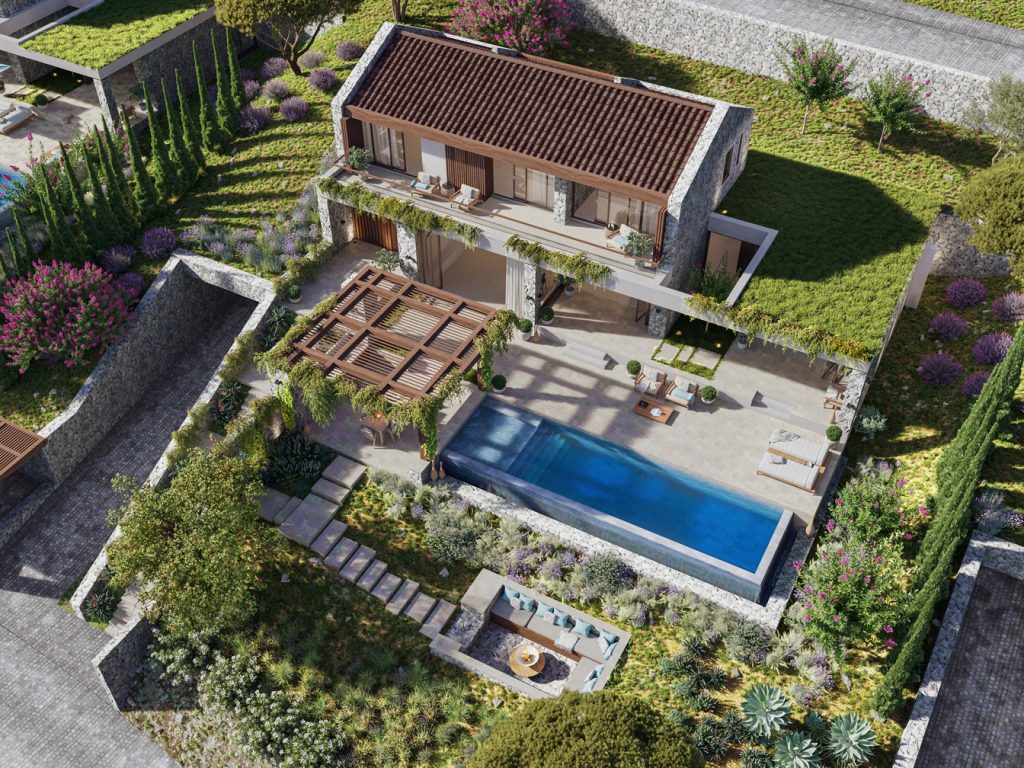
Just a few years ago, 3D visualization was only a privilege of large architectural studios or luxury real estate developers. Today, 3D visualization is available even for small design bureaus and private clients. And what’s important is that it doesn’t just show what the interior will look like. It conveys the mood, atmosphere, and even the sense of space. From a technical point of view, 3D visualization is a process that begins with a concept: space analysis, development of planning solutions, selection of materials, furniture, and colors. Next comes the stage of creating a three-dimensional interior model, placing lighting sources, adjusting materials and textures. And only after that is rendering, i.e. creating the final high-resolution images.
This technology allows you to
– avoid mistakes during the realization of the space,
– simplify project approval,
– save the customer’s budget,
– minimize stress when fantasy turns into reality not quite as expected.
And most importantly, it creates a sense of confidence and excitement. That is why modern projects are increasingly starting with photorealistic images rather than drawings and diagrams.
It all starts with the customer’s vision. The designer or architect collects all the necessary information:
– floor plan with dimensions,
– technical drawings,
– photos of the object (if it is an existing space),
– wishes regarding the style, color scheme, and functional zoning.
At this stage, a technical assignment (brief) is formed, where all the details are agreed upon – from the number of rooms to flooring materials. This is where the interior concept is born, which will become the basis for future visualization.
The more detailed the brief is, the more accurate the final result will be. Feel free to share references from Pinterest or Instagram – this will help you fine-tune the work vector.

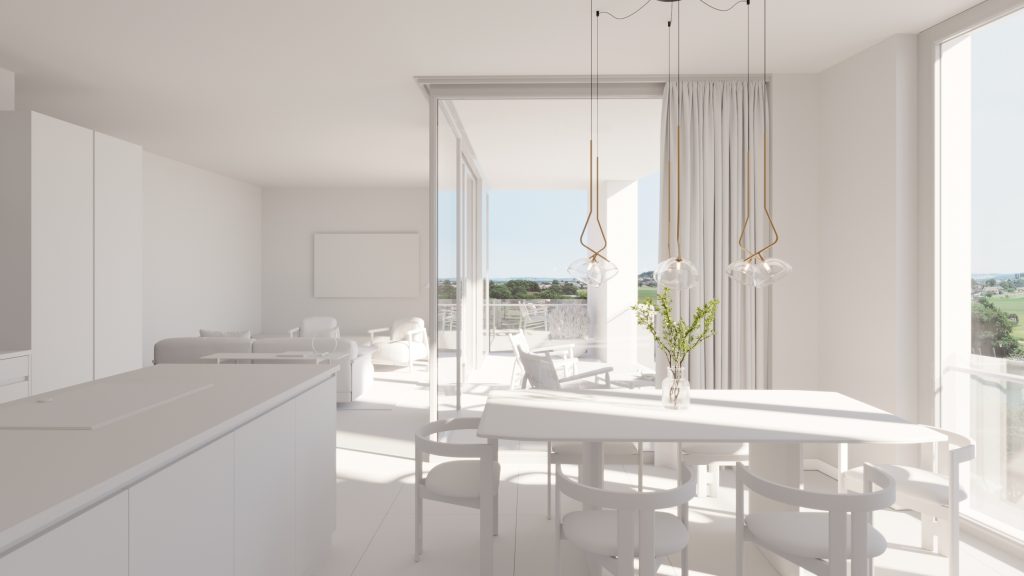
After agreeing on the concept, the designer or 3D artist creates the geometry of the room in specialized programs.
At this stage, everything looks rather tentative: the models of objects do not yet have textures and colors. However, you can already estimate the proportions, dimensions, and ergonomics of the space. It is thanks to 3D modeling that you can understand whether your favorite sofa will fit in the living room or how convenient it will be to move around the kitchen with an island even before the renovation begins.
The next step is to customize the materials. This is where you define which surfaces in the space will be matte, which will be glossy, which will be made of wood, and which will be made of metal or glass.
The 3D artist selects and adjusts the texture of materials (the structure of wood, stone, textiles), the light reflection coefficient, transparency, or shine of objects.
This allows you to achieve a “living picture” effect, where a leather sofa looks tactilely attractive and a wooden floor looks warm and natural.
Lighting is one of the most important stages in 3D visualization. The way the light sources are placed affects the realism of the scene, its mood and atmosphere. We take into account natural light, artificial light, and the overall balance of light and shadow.
Correctly adjusted lighting can emphasize the texture of materials, create coziness or, conversely, emphasize the laconicism of a modern interior. It is the lighting that makes the scene “alive”. Warm shades of evening light create a feeling of comfort, while soft diffused daylight adds space and air.
After rendering, images are often post-processed in Photoshop or other graphic editors.
At this stage:
The final renderings are shown to the client. Often, they are accompanied by 3D plans, 360° panoramas, or even animated videos that allow you to literally “walk” through the future interior.
3D visualization is not just a picture. It’s a tool that helps clients see the future space, make confident decisions, and avoid mistakes during the implementation phase. For designers and architects, it is a way to emphasize their professionalism, and for clients, it is a guarantee of peace of mind and confidence in the result.
Drop us a line or give us a ring. We love to hear from you!
Necessary cookies are absolutely essential for the website to function properly. These cookies ensure basic functionalities and security features of the website, anonymously.
Functional cookies help to perform certain functionalities like sharing the content of the website on social media platforms, collect feedbacks, and other third-party features.
Performance cookies are used to understand and analyze the key performance indexes of the website which helps in delivering a better user experience for the visitors.
Analytical cookies are used to understand how visitors interact with the website. These cookies help provide information on metrics the number of visitors, bounce rate, traffic source, etc.
Advertisement cookies are used to provide visitors with relevant ads and marketing campaigns. These cookies track visitors across websites and collect information to provide customized ads.
Other uncategorized cookies are those that are being analyzed and have not been classified into a category as yet.